![Icon for Courses-1.png]](https://help.oneclickcontractor.com/hs-fs/hubfs/Icon%20for%20Courses-1.png?width=36&height=36&name=Icon%20for%20Courses-1.png)
The source instructions describe OCC access as invitation-only and include an invitation link. Availability of that historical invitation is not confirmed here. If Zapier does not let you select One Click Contractor, contact your OCC representative for current access instructions.
Before you begin
-
Have a Zapier account. Sign up at [zapier.com](https://zapier.com/) if needed.
-
Have OCC credentials for an Org Admin account, or an account with permission to access the organization and data used by the Zap.
-
Decide whether OCC should start the Zap (trigger) or receive data from another app (action).
Step by step
Step 1: Open Zapier and start a Zap
Sign in to Zapier and select Create or Create a Zap. If the OCC app is not available in the app picker, its access may require an invitation; ask your OCC representative for current access instructions.
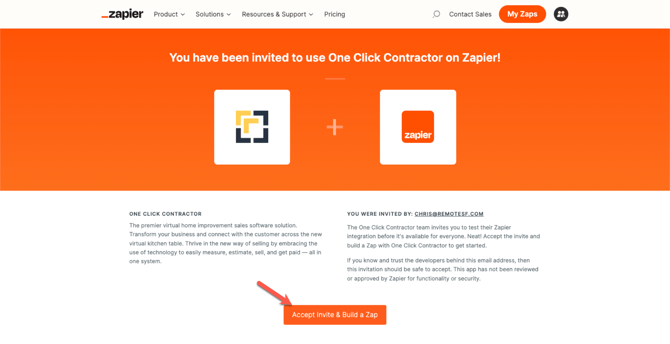
Image description: Zapier invitation or entry point shown in the source guide.
Step 2: Choose which app starts the workflow
To have an OCC event start the Zap, set One Click Contractor as the trigger app and continue. To create an OCC job from another system, first finish configuring that other system as the trigger, then add OCC as an action in Step 11.
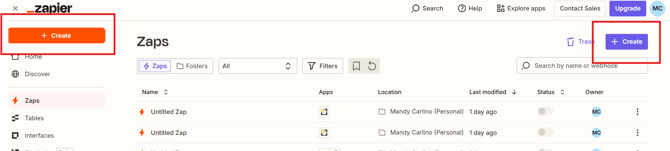
Image description: Create a Zap in Zapier.
Step 3: Select the OCC trigger event
Search for One Click Contractor, select the app, and choose the trigger event. The source guide lists Job Created or Updated Event and Estimate Created or Updated Event. Continue to account connection.
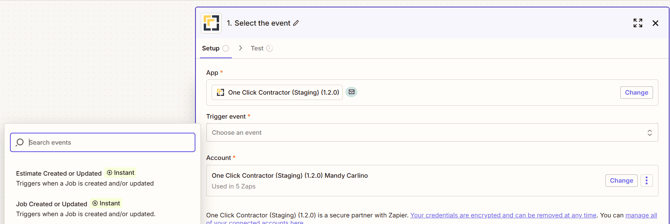
Image description: Select the One Click Contractor app and trigger event.
Step 4: Connect your OCC account
In Zapier's sign-in prompt, enter the email and password for an OCC Org Admin account, or an account with the required data permissions. Select Yes, Continue. Zapier can save the connected account for reuse in later Zaps.
Step 5: Select the connected account
Choose the OCC account you just connected from the account list and continue.
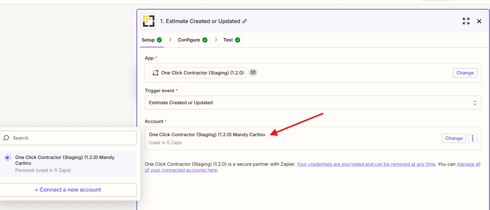
Image description: Select the connected OCC account.
Step 6: Choose the organization scope
Select the organization or organizations the Zap should monitor. If appropriate for your setup, set Include All Child Orgs to Yes, include all child orgs. The source guide recommends including child organizations when you want the Zap to cover them.
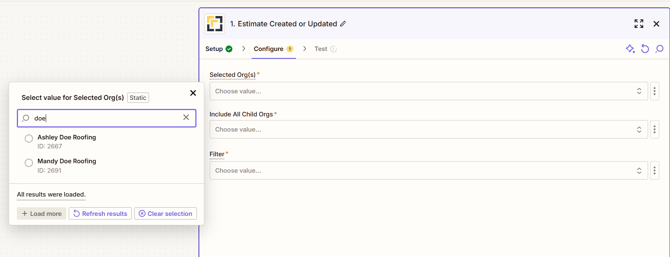
Image description: Select the organization scope.
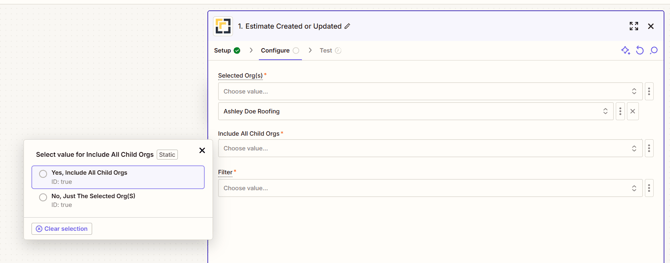
Image description: Choose whether to include child organizations.
Step 7: Choose the trigger filters
Select the event types that should start this Zap. The source guide lists these OCC trigger events:
-
Job Created — a job is created.
-
Job Updated — a job is updated, such as its address, phone number, or name.
-
Job User Assignment Changed — the job is reassigned to another user.
-
Job Status Changed — the job's status changes.
-
Signable Document — a signable document has been fully executed.
-
Job Document Created — a document is added to a job.
-
Estimate Created — an estimate is created for a job.
-
Estimate Updated — an estimate is updated.
-
Signed Document — a document is fully executed by all parties.
-
Estimate Manual Trigger — a user manually starts the event from a saved estimate.
Select only the event types your workflow needs, then continue.
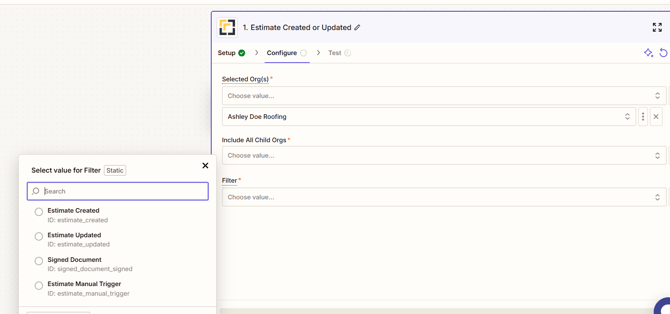
Image description: Choose an OCC trigger filter.
Step 8: Test the trigger
Select Test trigger. Zapier retrieves a sample OCC record for validation. Confirm that the sample contains the fields your following action requires, then continue.
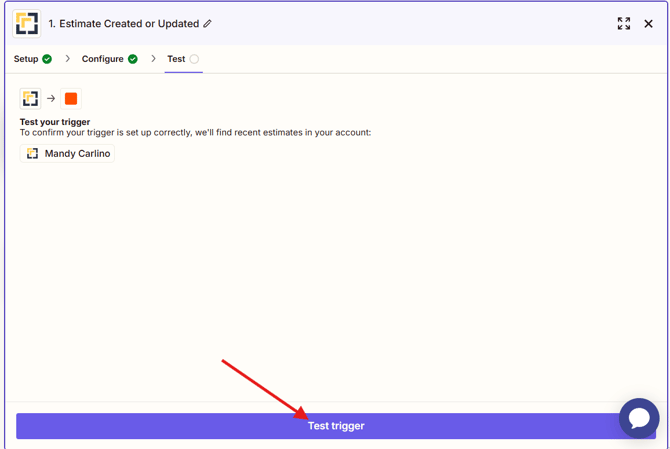
Image description: Select Test trigger.
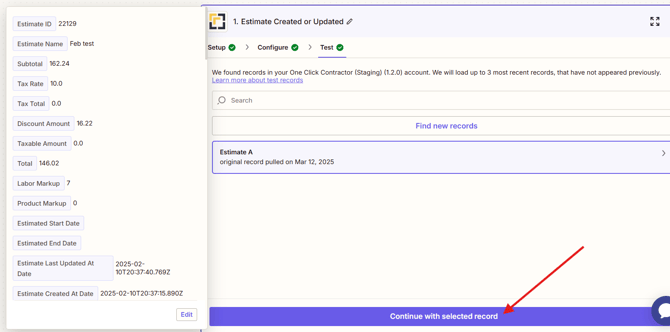
Image description: Review the sample OCC trigger record.
Step 9: Add the receiving action
After the trigger is configured, add an action and select the application that should receive the OCC data. Choose that application's action event, connect its account, and map fields using that application's controls. The precise action setup depends on the receiving application; use its Zapier instructions for application-specific fields.
Step 10: Review and publish an OCC-triggered Zap
Verify the trigger, selected organizations, child-organization setting, filters, connected account, and action field mappings. Test the action in the receiving app. Turn on or publish the Zap only after the test succeeds.
Step 11: Start with an existing trigger when OCC should create the job
If another application is already the Zap trigger, open the action step and search for One Click Contractor. Select OCC as the action app.
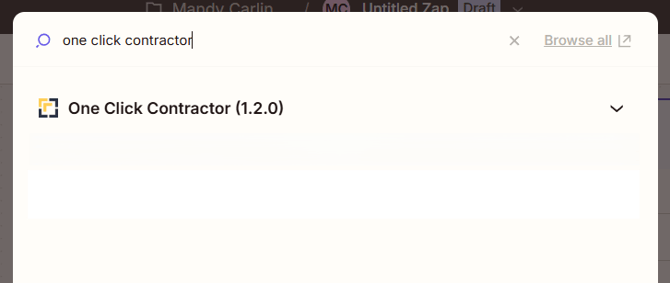
Image description: Choose One Click Contractor as the action app.
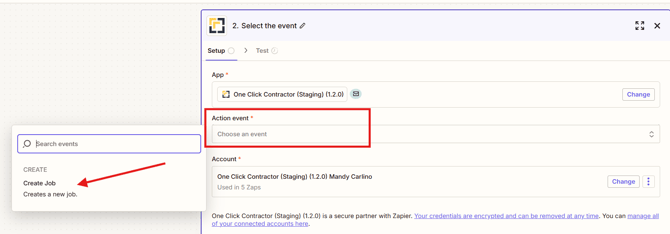
Image description: Choose Create Job as the OCC action event.
Step 12: Choose the Create Job action
Select Create Job and continue. If Zapier asks you to connect an OCC account, connect the account as described in Step 4, then select it and continue.
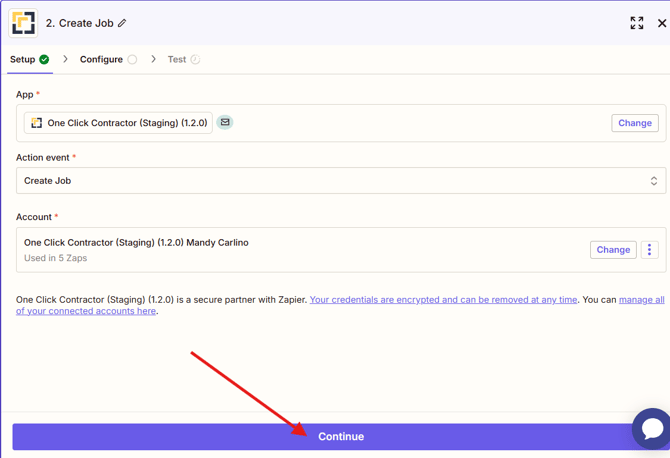
Image description: Continue after selecting Create Job.
Step 13: Map job details from the trigger
In the OCC action fields, select the plus sign beside each field you want populated and choose the corresponding value from the trigger app. Customer Name is the only required job attribute. If Job Name is blank, OCC uses the Customer Name as the job name. The available job fields in the source guide are:
Job: Customer Name, Email, Job Name, Lead Source, Job Types.
Job address: Address Line 1, Address Line 2, Address City, Address State, Address Postal Code, Address Country.
Customer address: Customer Address Line 1, Customer Address Line 2, Customer Address City, Customer Address State, Customer Address Postal Code, Customer Address Country.
Phone number: Phone Name, Phone Number.
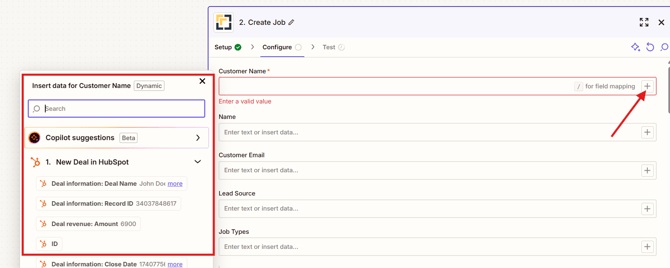
Image description: Map values in the OCC Create Job form.
Step 14: Map appointment details and Assigned User
OCC allows one appointment to be created by this action. Map Appointment Start Time, Appointment End Time, Appointment Summary, Appointment Description, and Assigned User as needed. If you provide an appointment start time, provide an appointment end time as well.
Assigned User must be the email address of an existing user in the OCC organization. If the email does not match an organization user, OCC assigns the job to the user who originally set up the integration. Add the user lookup or other step needed in your Zapier workflow before the OCC Create Job action so that the value mapped into Assigned User is the intended OCC user's email. This is the additional workflow step to check when a created job is assigned to the integration owner unexpectedly.
Step 15: Test the Create Job action
Continue to the test step and run it. Review the resulting OCC job and confirm the customer, job, address, contact, appointment, and assigned user values. If the test succeeds, publish or turn on the Zap.
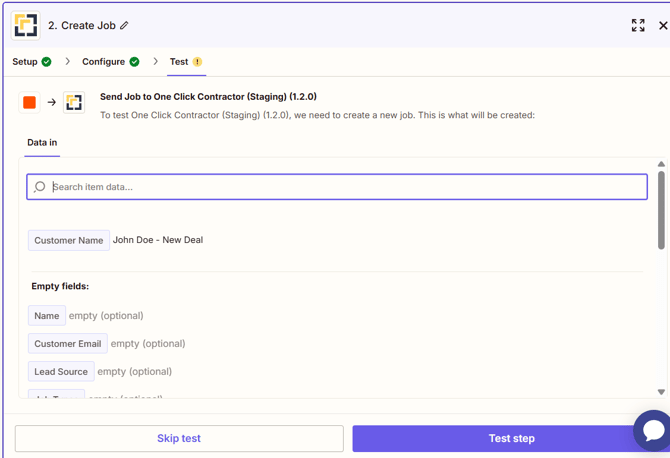
Image description: Test the OCC Create Job action.
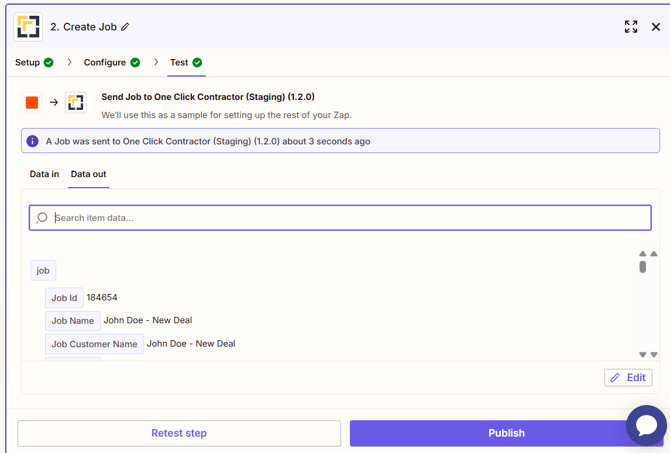
Image description: Review the successful Create Job result.
Expected result
The Zap is enabled with the selected trigger and action. For an OCC trigger, Zapier receives the selected OCC events and passes their data to the configured action. For an OCC Create Job action, successful Zap runs create OCC jobs with the mapped values. The assigned user resolves only when the mapped email matches an existing user in the organization; otherwise, assignment falls back to the integration setup user.
Troubleshooting
-
If OCC is missing from Zapier's app picker, confirm whether the current OCC Zapier app requires invitation access; use current access instructions from OCC.
-
If the trigger test returns no usable record, check the connected OCC account's permissions, selected organization scope, and event filters.
-
If an action test fails, confirm that Customer Name is populated and that an appointment end time is mapped whenever a start time is supplied.
-
If the job is assigned to the integration setup user, verify that Assigned User receives the exact email address of an OCC user in the selected organization. Insert or correct the user matching step before Create Job.
-
If an action in another application is not configured as expected, consult that application's Zapier setup instructions. Its fields and steps are controlled by that application.