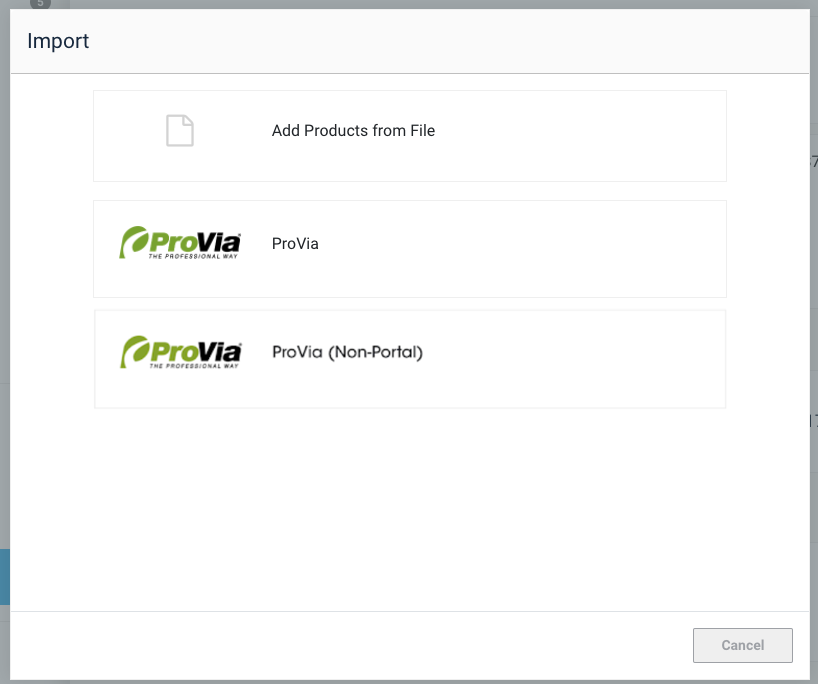
We now have direct support for users that utilize both a Portal and Non-Portal configuration of ProVia. As a part of the update, we have migrated all users over to their appropriate configuration. In the event, you have a user that is both here is how to set things up.
1. Open the integrations tab for the organization in question.

-
- You will notice that under the section for ProVia there are 2 checkboxes for Portal and Non-Portal. You will also see the option for Authorize.

- On the portal option, simply enter the Profile ID (Portal #) and save the preferences.
- You will notice that under the section for ProVia there are 2 checkboxes for Portal and Non-Portal. You will also see the option for Authorize.

2. Once the configuration is set up appropriately, the user will see an update in the Estimator. One you select ProVia from the dropdown menu, you will have the option to select either “ProVia” (which is a portal login) and “ProVia (Non-Portal)” from the login.
