![Icon for Courses-1.png]](https://help.oneclickcontractor.com/hs-fs/hubfs/Icon%20for%20Courses-1.png?height=40&name=Icon%20for%20Courses-1.png)
Step 1: Open the job & Click Estimates in the left menu.
Step 2: Click Add Estimate
Use the button at the top right, or the one in the middle of the page when the job has no estimates yet. Both work the same way.
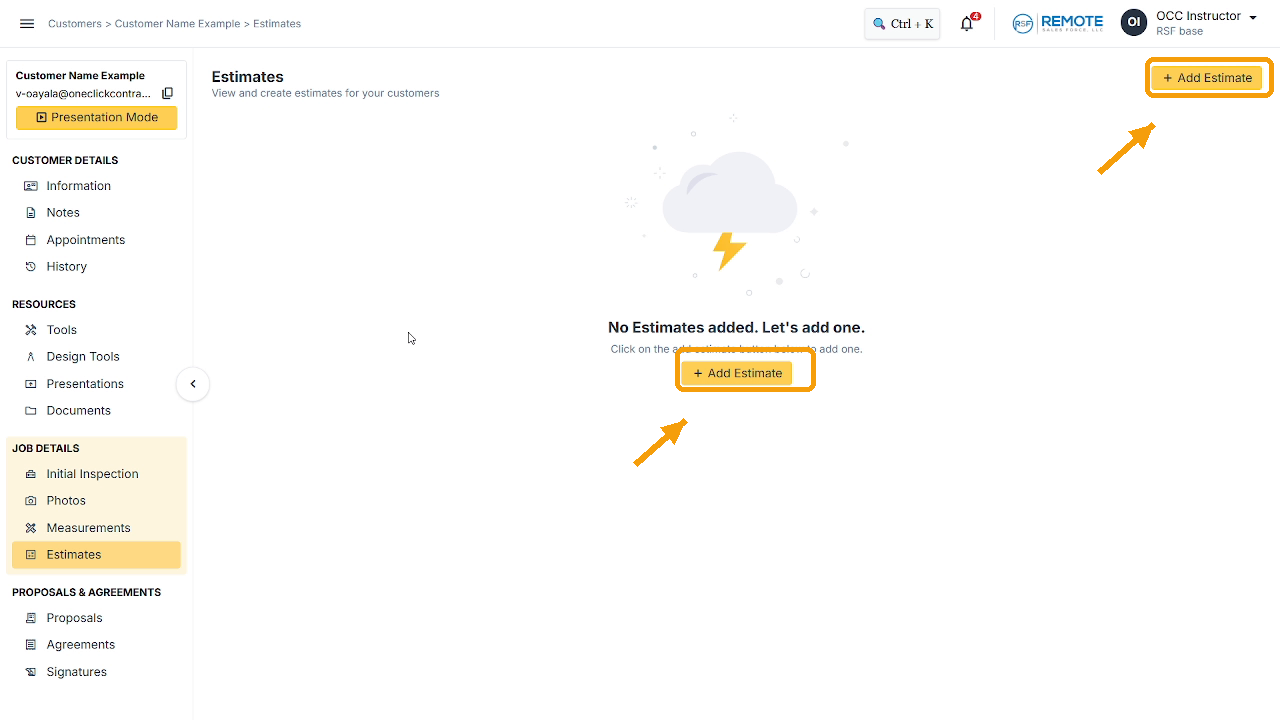
Image description: The Estimates page with Add Estimate highlighted.
Step 3: Name the estimate
Click the name field at the top, type a name, then click the check mark. Naming it first is a good habit. If you skip it, the estimate gets a number automatically.
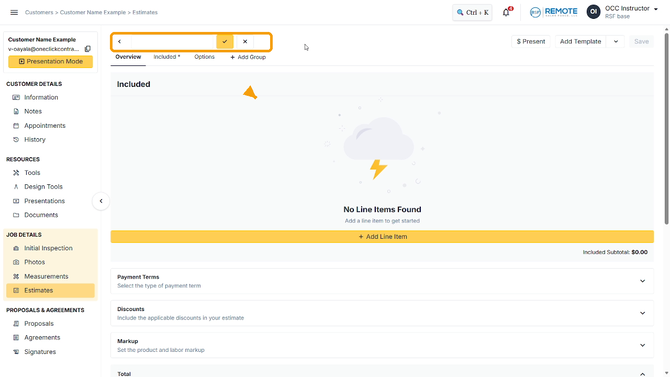
Image description: The name field with the check mark.
Step 4: Save the estimate
Click Save at the top right. If you try to leave before saving, a warning says there are unsaved changes. Saving the name is not the same as saving the estimate.
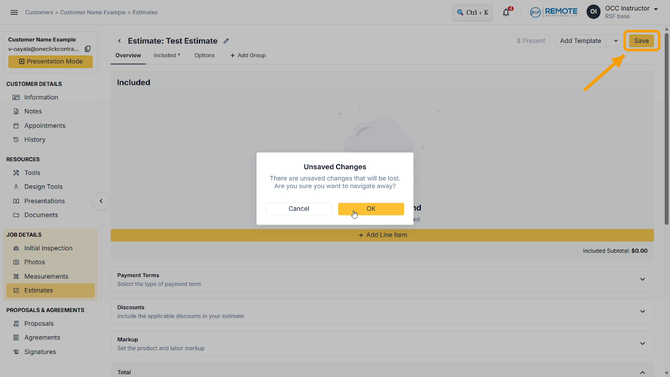
Image description: The Unsaved Changes warning, then the Save button (04-save-the-estimate.png).
Step 5: Go back to your estimates
Click the back arrow next to the estimate name. Click an estimate to open it again.
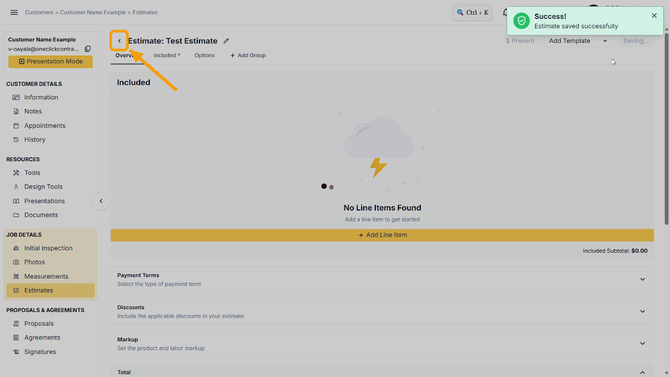
Image description: The list of estimates.
Renaming an estimate laterClick the pencil next to the estimate name, change the name, and save the estimate again. Every change needs a save.
Remember
What you see can differ depending on your organization's settings and your permission level. Tab names, headers and available options are configurable. If you can't see or do something described here, ask your manager first. They can contact support.
Also read- How do I add a line item to an estimate?
- How do I use tabs and groups to organize an estimate?
- How to create and save an estimate template
- How do I use or combine templates on a new estimate?