![Icon for Courses-1.png]](https://help.oneclickcontractor.com/hs-fs/hubfs/Icon%20for%20Courses-1.png?height=40&name=Icon%20for%20Courses-1.png)
Article Introduction
Open the Inspection tab and select the applicable inspection category.
Locate the inspection item you want to document, then expand it to view its available selections, Item Notes field, and photo controls.
Choose the Applicable Selections
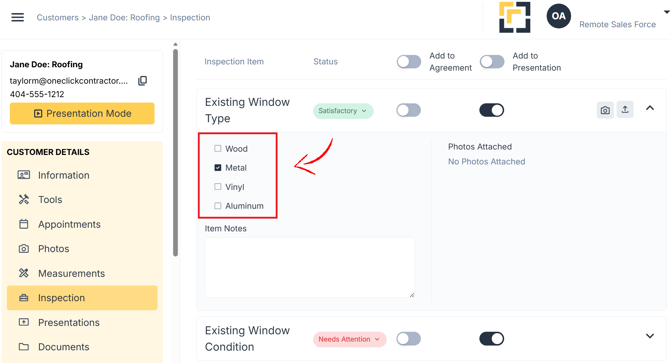
Each inspection item may contain a set of preconfigured, clickable options.
Select the options that apply to the item or condition being inspected. Depending on the item’s configuration, you may be able to choose one or multiple options.
For example, an inspection item related to an existing window type may include selections such as:
- Wood
- Metal
- Vinyl
- Aluminum
Add Item Notes
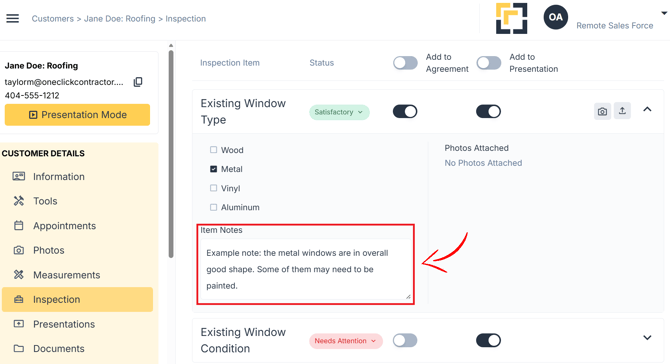
Use the Item Notes field to record additional information about the inspection item.
Attach Photos
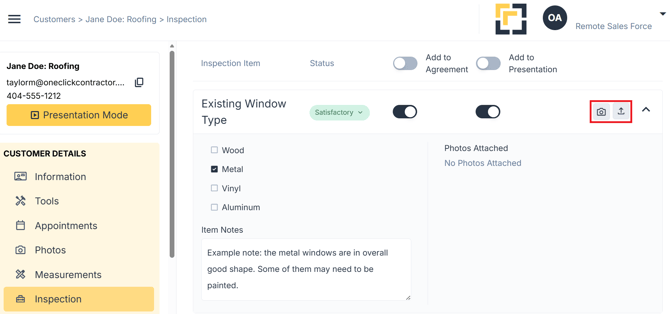
Photos can be added to an inspection item from two sources:
- Select an existing image from the Photos tab
- Upload a new image from your device
Important Notes
- Inspection selections are preconfigured and may vary by item.
- Some inspection items may allow multiple selections.
- Photos can be selected from the Photos tab or uploaded directly from a device.
- Adding inspection items to an Agreement or Presentation is covered in a separate article.