![Icon for Courses-1.png]](https://help.oneclickcontractor.com/hs-fs/hubfs/Icon%20for%20Courses-1.png?width=36&height=36&name=Icon%20for%20Courses-1.png)
Article Introduction
Once One Click Payments is connected, you can configure notification recipients and payment options from the Settings tab. These settings control who receives payment-related emails and which payment methods are available to your team.
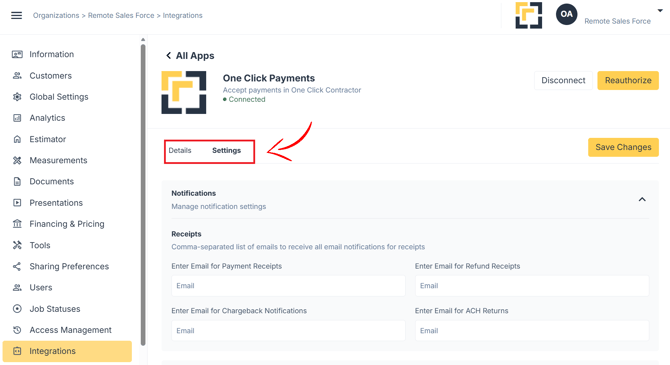
Accessing Settings
- Navigate to the Configuration section and select the Integrations tab.
- Click One Click Payments.
- Click the Settings tab.
Configuring Notifications
Under Notifications > Receipts, you can enter one or more comma-separated email addresses for each of the following:
- Enter Email for Payment Receipts
- Enter Email for Refund Receipts
- Enter Email for Chargeback Notifications
- Enter Email for ACH Returns
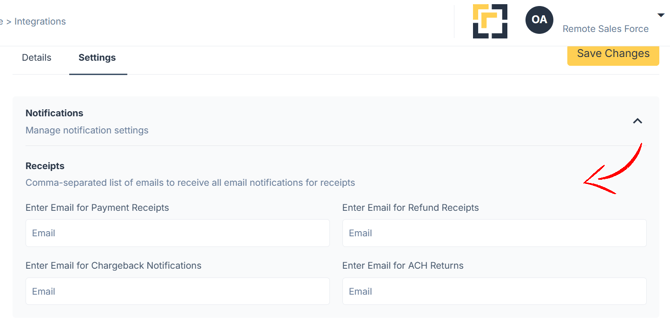
Note: Each field accepts multiple email addresses, separated by commas.
Configuring Payment Options
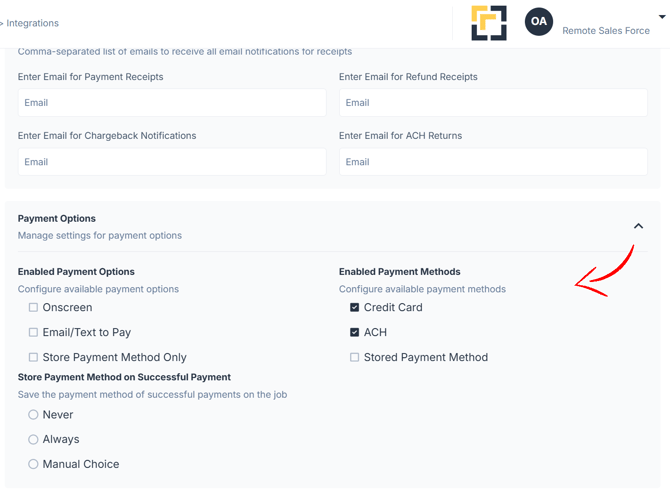
Under Payment Options, you can manage which payment options and methods are available.
Enabled Payment Options:
- Onscreen
- Email/Text to Pay
- Store Payment Method Only
Enabled Payment Methods:
- Credit Card
- ACH
- Stored Payment Method
Store Payment Method on Successful Payment:
Choose whether payment methods are saved automatically after a successful payment:
- Never – Payment methods are not stored.
- Always – Payment methods are stored automatically.
- Manual Choice – The user is prompted to choose whether to store the payment method.
Saving Changes
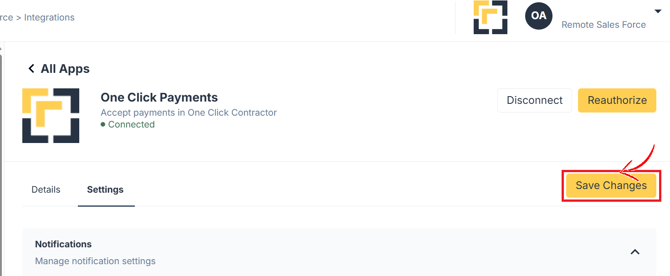
Click Save Changes to apply any updates made on the Settings tab.