![Icon for Courses-1.png]](https://help.oneclickcontractor.com/hs-fs/hubfs/Icon%20for%20Courses-1.png?width=36&height=36&name=Icon%20for%20Courses-1.png)
Overview
This workflow creates a Hatch contact when a new One Click Contractor job is created. OCC supplies the trigger data, and Hatch receives the mapped values in a Create Contact action. This article covers the Hatch workflow after both accounts are connected to Zapier. For the OCC account connection and trigger behavior, see the Zapier connection article.
Before you begin
-
Have a Zapier account.
-
Connect your One Click Contractor account and Hatch account to Zapier.
-
Have access to the OCC organization whose new jobs should create Hatch contacts.
-
Decide whether to include child organizations.
Step by step
Step 1: Create a new Zap and configure the OCC trigger
Start a Zap, select One Click Contractor as the trigger app, choose Job Created or Updated as the trigger event, and continue.
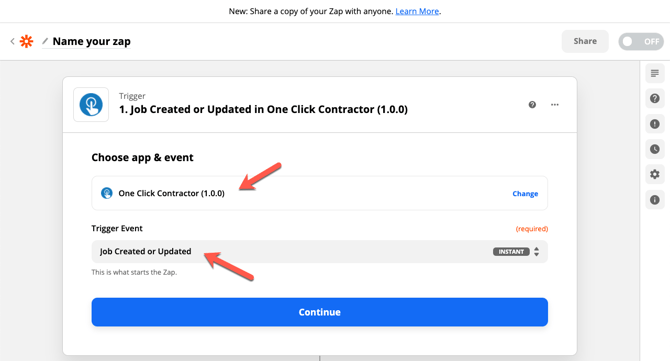
Image description: Select the OCC trigger for the Hatch Zap.
Step 2: Select the connected OCC account
Choose the appropriate OCC account and continue.
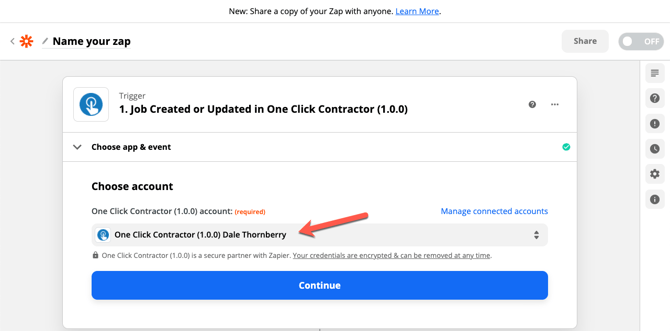
Image description: Select the OCC account.
Step 3: Set organization scope and the job-created filter
Select the appropriate organization or organizations. Set Include All Child Orgs to Yes if the Zap should cover child organizations. Set the event filter to Job Created and continue.
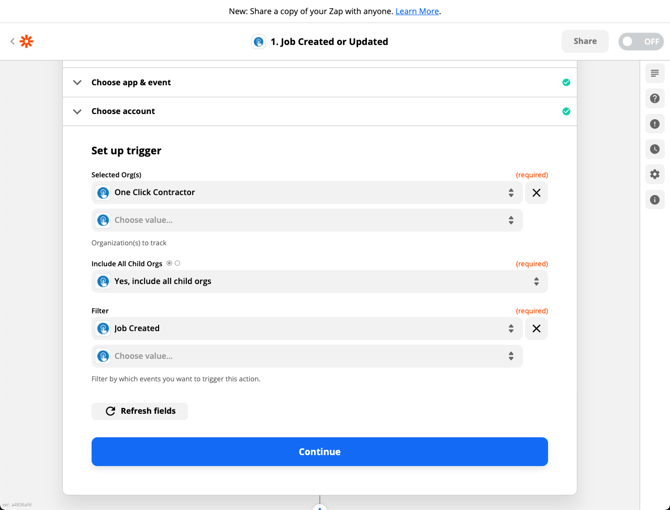
Image description: Set organization scope and Job Created filter.
Step 4: Test the OCC trigger
Select Test trigger and confirm that Zapier returns sample job data. Continue after validating the sample.
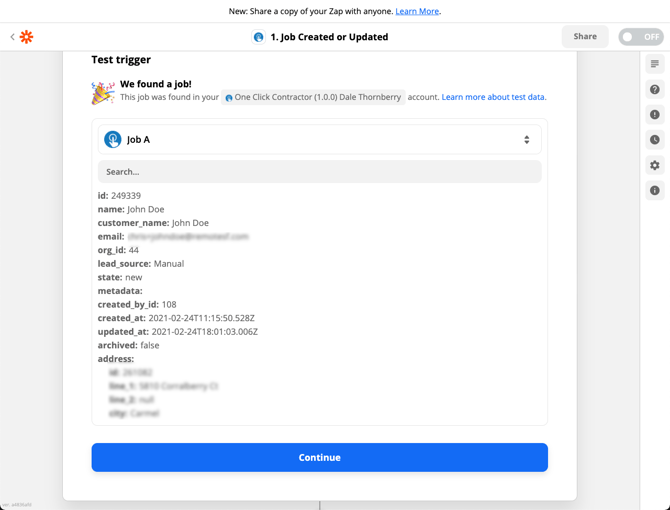
Image description: Test the OCC trigger data.
Step 5: Add Hatch as the action app
Select Hatch as the action app, choose Create Contact as the action event, and continue.
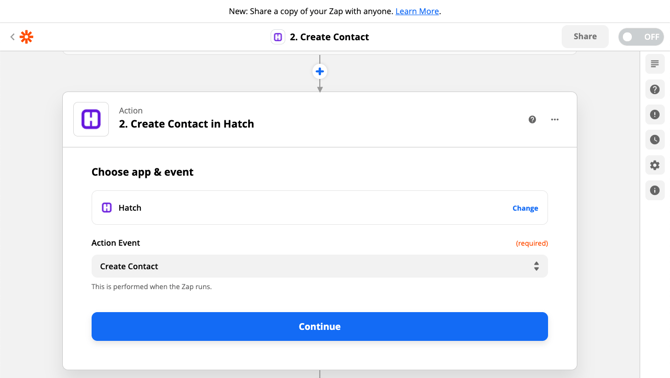
Image description: Select Hatch Create Contact.
Step 6: Select the connected Hatch account
Choose the Hatch account that should receive contacts and continue.
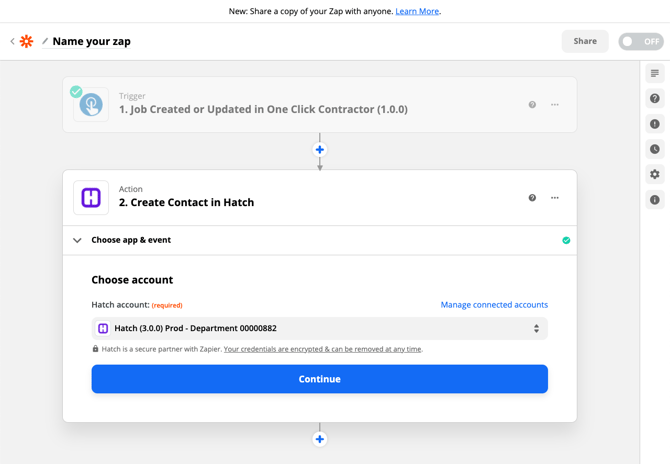
Image description: Select the Hatch account.
Step 7: Map OCC values into Hatch contact fields
Use this recommended mapping from the source guide:
Contact Id ← Job ID
Contact First Name ← Customer Name
Contact Phone Number ← Phone Numbers Number
Contact Email ← Customer Email
Contact Status ← Job Status
You can map additional values in Hatch's Contact Details section, including address and job types. Confirm that each OCC source field is available in the trigger sample and that each value is appropriate for the Hatch field before continuing.
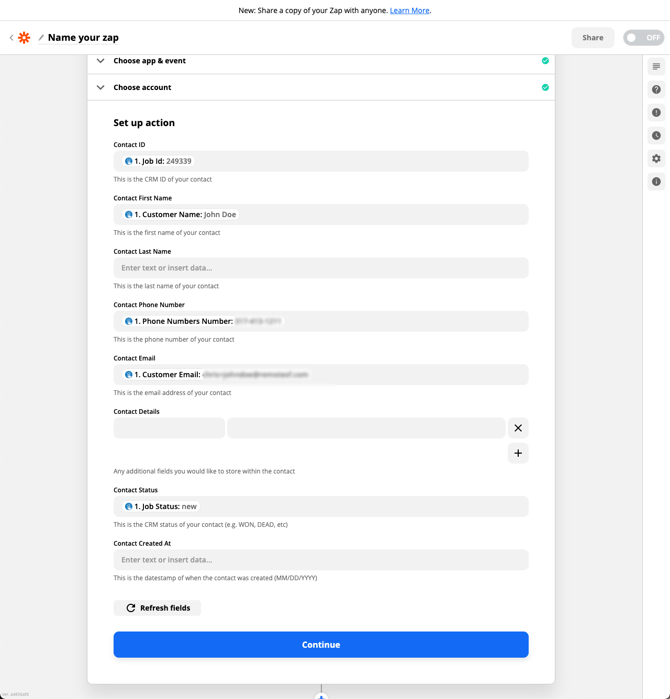
Image description: Map OCC job values to Hatch contact fields.
Step 8: Test and turn on the Zap
Continue through the action test, verify that the expected contact is created in Hatch, and then turn on the Zap.
Expected result
When a new OCC job matches the trigger organization and filter, Zapier sends the mapped customer and job information to Hatch and creates a contact. The Hatch fields listed above follow the recommended mapping in the source guide; adjust them if your Hatch configuration requires different contact values.
Troubleshooting
-
If the trigger sample does not contain the required customer or job values, check the selected OCC account, organization scope, and Job Created filter.
-
If a Hatch contact is missing or has incorrect details, review the field mappings and verify that the test record contains the mapped OCC values.
-
If the Zap runs for jobs in organizations you did not intend to include, review the selected organization list and Include All Child Orgs setting.